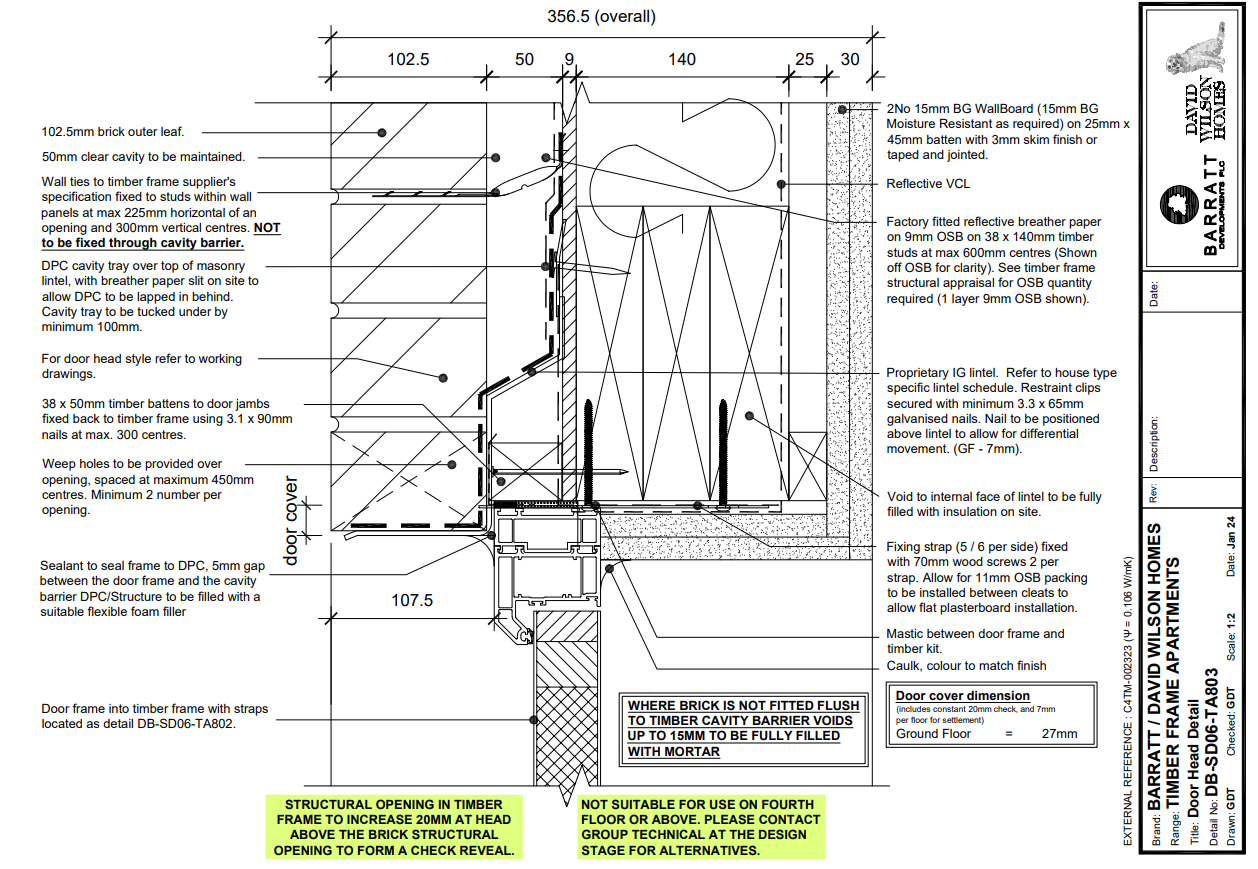
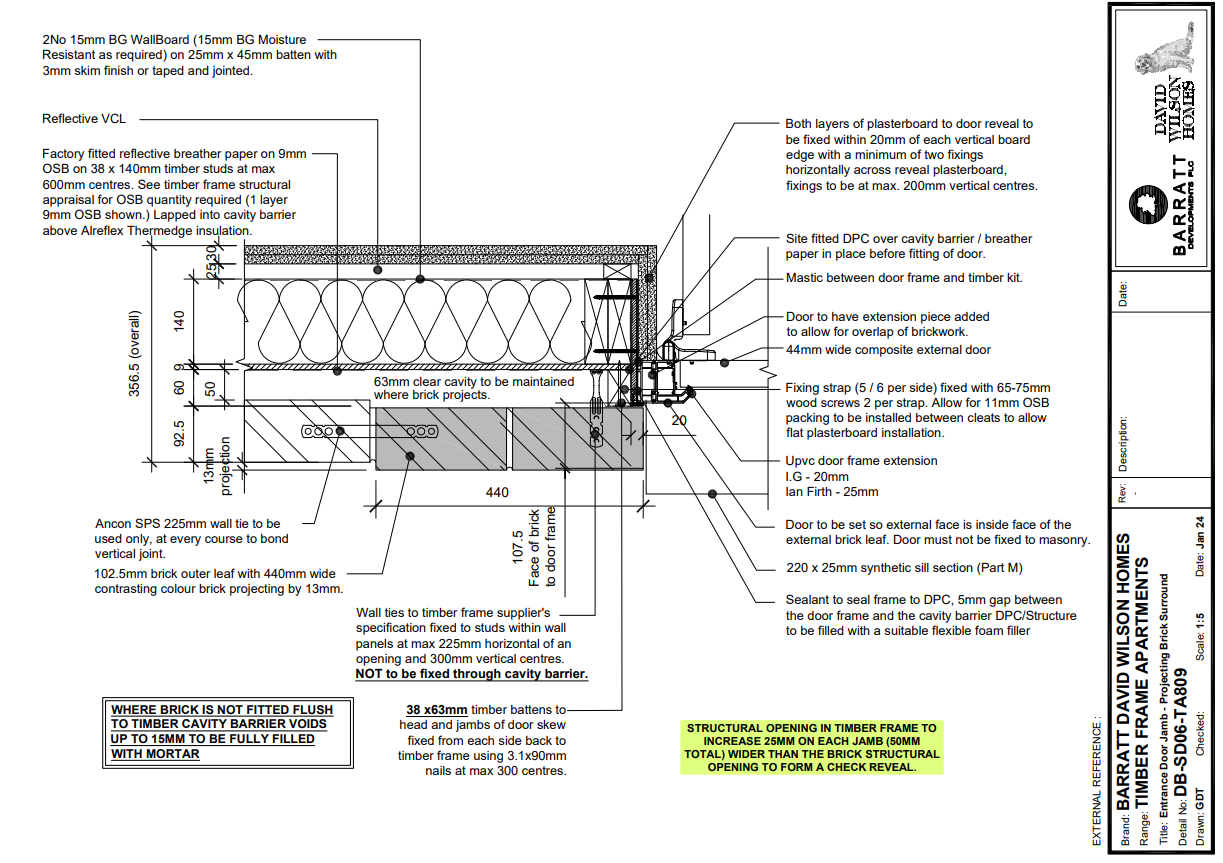
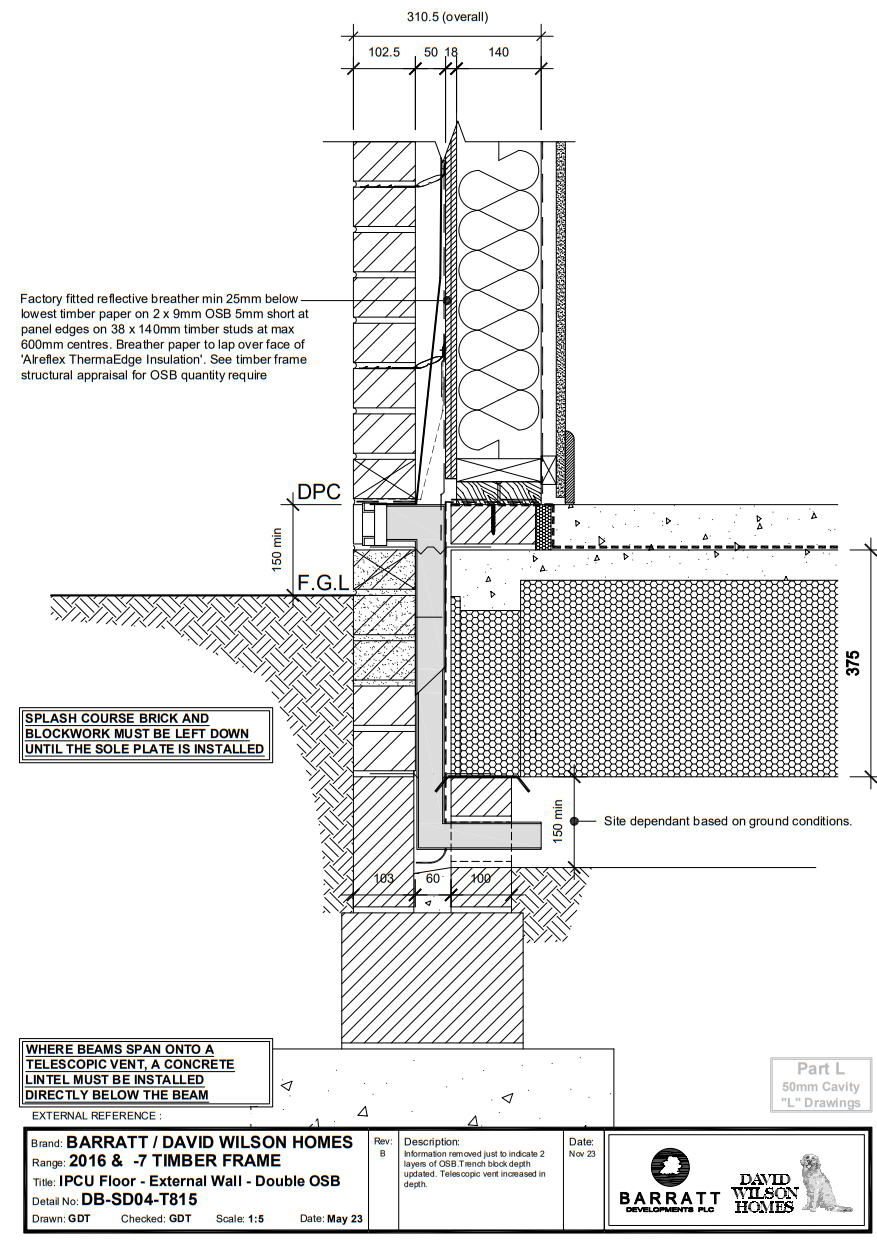
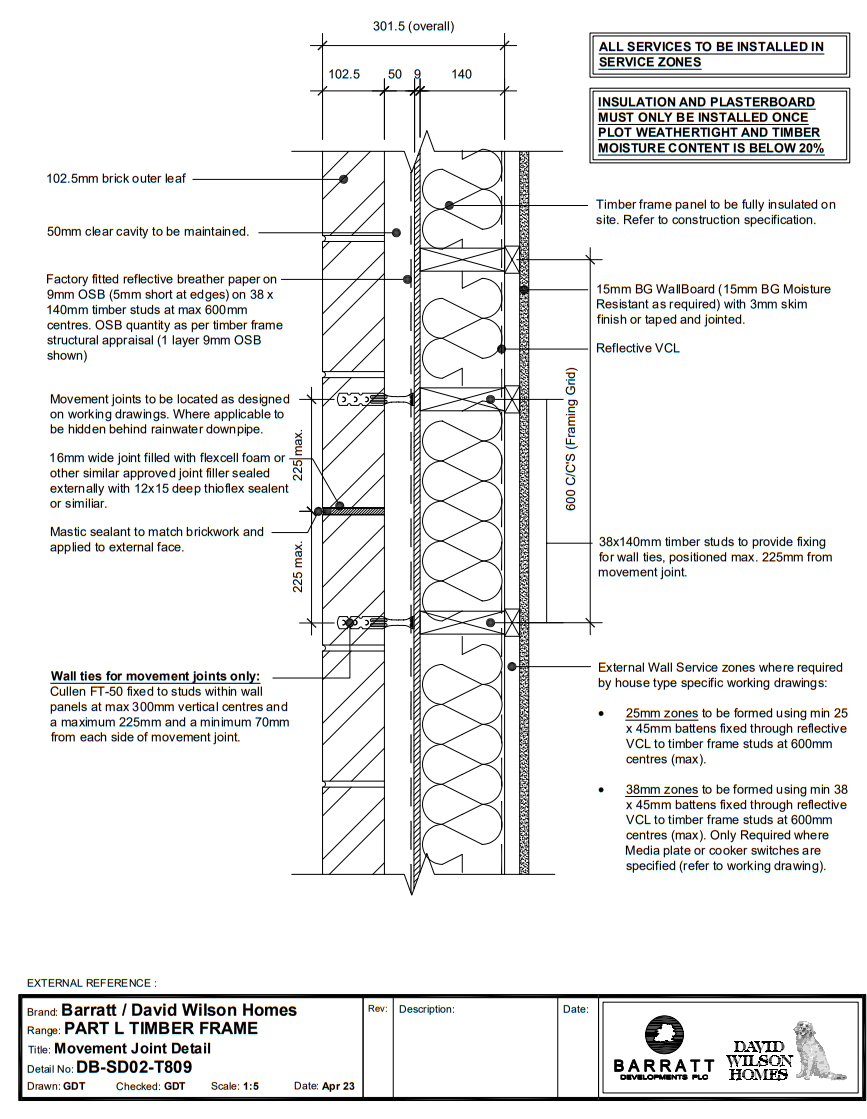
Drawings on this page are not to be copied in any way. They are purely for references purposes only.
They should be used in conjunction with the latest relevant drawings for the plot you are working on.

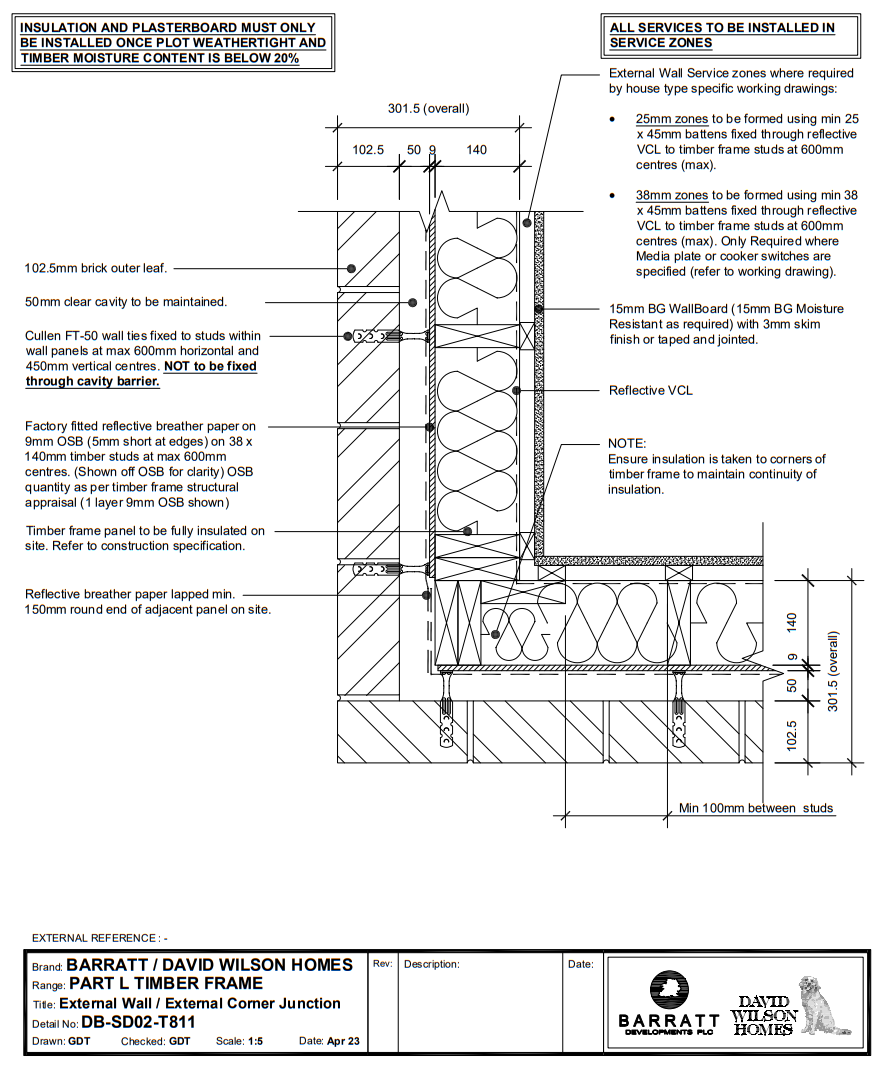
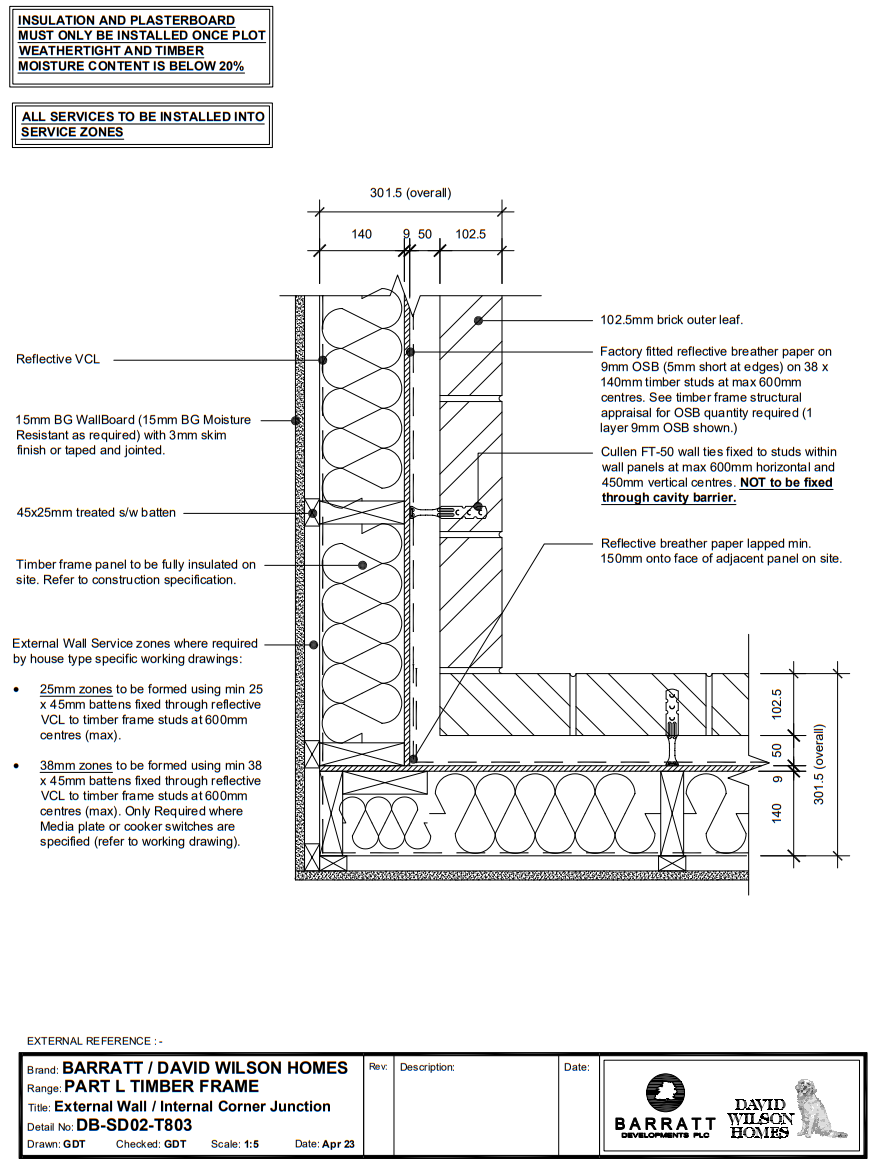
Cavity Barrier Fixing/installation
Fire Breaks Guide
If the cavity exceeds 10mm in size over the 50mm cavity a Fire Break will need to be installed at the reveal.
If the cavity at the reveal is below this figure NO fire break is required.
Must be in Full Contact with both Leaves
Must be in full contact with the proceeding Fire Break
Excess Mortar must be struck and not build up behind the Fire Break
Stapled not Nailed
(staples need to be Stainless Steel or other corrosion resistant material)
No Ripped Fire Breaks
any ripped plastic can not be taped. Rather than wasting any Fire Breaks it may be possible to staple the plastic so any holes may not be visible
This includes any pipework or services that penetrate into the cavity.
Cut the Fire Break material and not the plastic bag
As Tape is NOT allowed remove the excess material from inside the Plastic and roll the extra plastic so it is neatly tucked into the Fire Break.
Do Not Bend Fire Breaks a corner
At corners the Fire Break surround should be made up of two Fire Breaks one Vertical and One Horizontal and they must be touching with no gaps
Use the Correct Fire Break
For larger vents and flues that protrude into the Cavity there are specially designed Fire Break surrounds. (check you have the correct fire break)
Small Pipes and punctures into the cavity must have a Fire Break surround
You may bend the Fire Breaks around small round pipes fixing using staples, you may not bend if the intrusion has corners.